My Green Garlic Plants August 14, 2008
Posted by live2cook in Green Garden.Tags: indoor Garlic plants Scallions
3 comments
However well I try to follow a proper way and grow a plant, it didn’t seem to happen that way. If I try to do one thing, It turns out to be the other. That is how I got to know about the green garlic plants last winter.
I came across a couple of red radishes that I had bought for salads, sprouting in the fridge. With huge dreams of harvesting loads and loads of radish greens for cooking, I tucked them in a pot of soil. Not to disappoint me, they grew well. When they were about 2 – 3 inches tall, the weather played a wicked role. We got heavy snow storm that shunned the Sun. In spite of the additional light that I provided, the roots of the plants started to rot inviting white flies.
I was worried and searched for indoor pest control ideas. Among the ideas I found, I liked the natural ones. One of them was to spray garlic scented water on the affected plant (crush couple of garlic cloves and add to 1 gallon of water). The other was to tuck couple of garlic cloves in the soil of the affected plant.
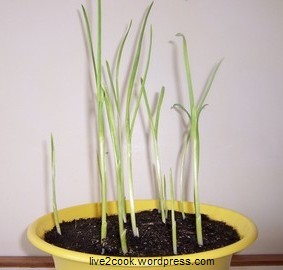
Surprisingly, the pest control ideas worked and controlled the white flies. I pulled the radish greens and used in salads. I left the pot as is with a plan to put it in trash after the soil dries out. A week later, I noticed that the garlic cloves had started to shoot. I didn’t know the uses for the garlic plant. I left the plant to grow as it acted as pest control for other indoor plants.
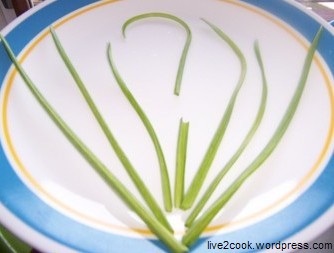
But the fate of the garlic plants took a drastic turn when I came across a bag of frozen garlic in our Asian groceries. I inquired the store assistant and she told me that the garlic plants can be used similar to scallions. Then what, I turned like Aesop’s farmer and took the scissors. My garlic plant turned to be the “Golden Goose“. I used the garlic shoots in soups and stir fries. I am hooked to the mild garlicky flavor and have started to grow them regularly.
Garlic is an easy to grow indoor plant. All we need is a moist soil, few cloves of garlic from our pantry and a place near bright window. Within a week or so they will start to shoot. As they grow, if we cut the larger leaves, new leaves will form. We can keep on cutting like this until the plant dries out and no new leaves appear. The leaves freeze well. So we can collect them in freezer bags for future use. The things that we have to know is, to develop a garlic bulb, the plant needs direct sun and warmth of ground. Please note that indoor garlic plants don’t produce bulbs (which I came to know after pulling couple of grown ups and watching the underneath 😛 )
Stay tuned for my next post where I will share with you a recipe that I prepared using these garlic plants and join the Great Green Thumbs in Grow Your Own event with my green pinkie! 🙂
What to do when a pea shoots July 24, 2008
Posted by live2cook in Green Garden, Sprouts! Sprouts!.Tags: Pea shoots salad in a jar
11 comments
“Pea Shoots”.
When I first heard this phrase, it sounded funny to me. “Uh! Oh! This pea shoots! Bad Boy!” is what I thought. 🙂
But, When I ventured on some Indoor winter gardening with some sprouted green peas, I came to know the real meaning of “Pea Shoots”. Whether it was the cute and erect tendrils that grew from the seeds or the bunch of tiny plants that stood like warriors or the potent taste that it hid in itself to hit our palettes, I agree that the pea does shoot…with its taste, texture and nutrients.
You know? I am very greedy, When I understood the game plan of the pea’s shooting, I wanted to grab them all, the taste,texture and nutrients. Not just from the shoots but from the seeds too. That’s why I planned to play a conspiracy against the pea that shoots.
Yup! If you know a pea can shoot, Trap it in a Jar!!! 🙂
Method for trapping it:
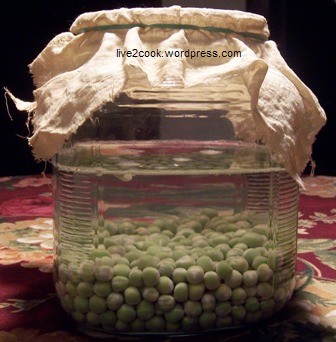
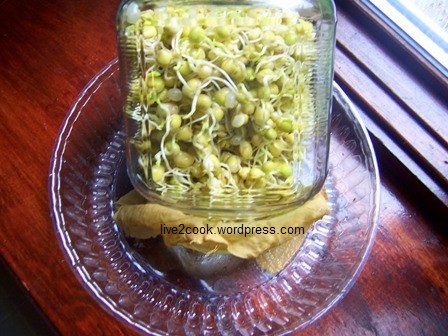
Soak 2 -3 tablespoons of dried green peas in a glass jar. Change the soaking water once or twice and let soak for at least 12 hours. Drain the water completely and move the jar to a dark place. Fill the jar once or twice with water, give it a swirl and drain the water completely. This will keep the peas moist. After a day or two, the peas will sprout.
Wash them once in a while and tilt the jar over a plate or bowl to drain the excess water. Maintain the jar in a dark place. After 3-4 days, the sprouts will grow an inch longer.
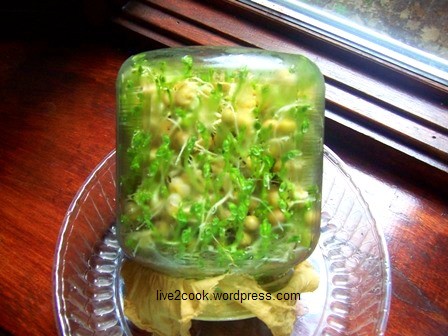
Move the jar near a bright window. To keep the pea sprouts from drying out, follow the washing process twice a day. After 3 days, tiny leaves will appear in the sprouts.
Keep the jar near the bright window until the leaves develop the chlorophyll and turn green.
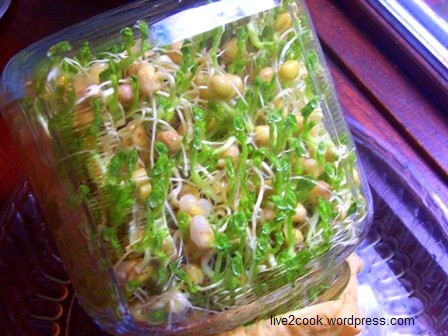
A closer look!
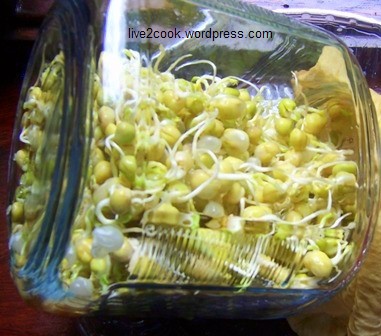
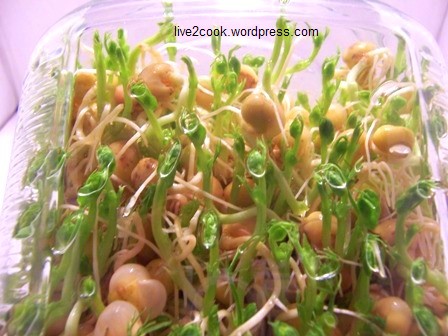
Look! the peas are shooting!
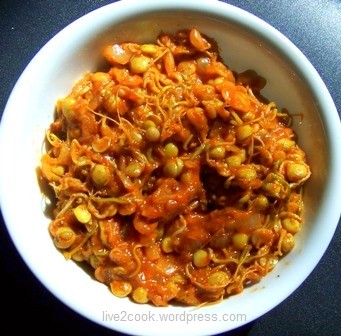
We can keep these sprouts up to a week or more in refrigerator, if we wash them at least once daily. Though we can steam or boil them, either eating fresh or a simple stir fry will retain most of the nutrients. If you are boiling them in water, use the water in soups or curries. I made a simple peas stir fry with onion, tomatoes and some spices. It made a simple side dish for Roti, but rich in nutrients and fiber for sure.
This is my entry for Andrea’s “Grow your own” event hosted by the great gardeners Jai and Bee of Jugalbandhi.

